
Week 4: Scale & Detail -
You will learn to create a simple CAD or physical model for a detail of your dream house/place and present it with annotations.
So far in this short course you have made a first sketch, transformed it into a digital model, and explored the context of the design. This week you will look at the details. In reality and in many educational exercises, you will need to work in parallel with all sorts of models, because each type of model will give you new information about how the final design could be. This process can be extremely interesting and joyful, but at the same time it is often frustrating and it comes with doubt and uncertainty. It is important and good to know this. You will need to go through it, experimenting and experiencing a lot. It takes a lot of energy, but will give back a lot in the final outcome.
This week's challenge is to apply your 'guiding theme' to a small portion of your design.
This week's challenge is to apply your 'guiding theme' to a small portion of your design.
Step 1. Choose a part to focus on.
Looking for a characteristic part of the house where something important happens that is exemplary for the house as a whole, I find the transition from outside to inside and vice versa most interesting (as I had already expressed in my guiding theme in week 3).
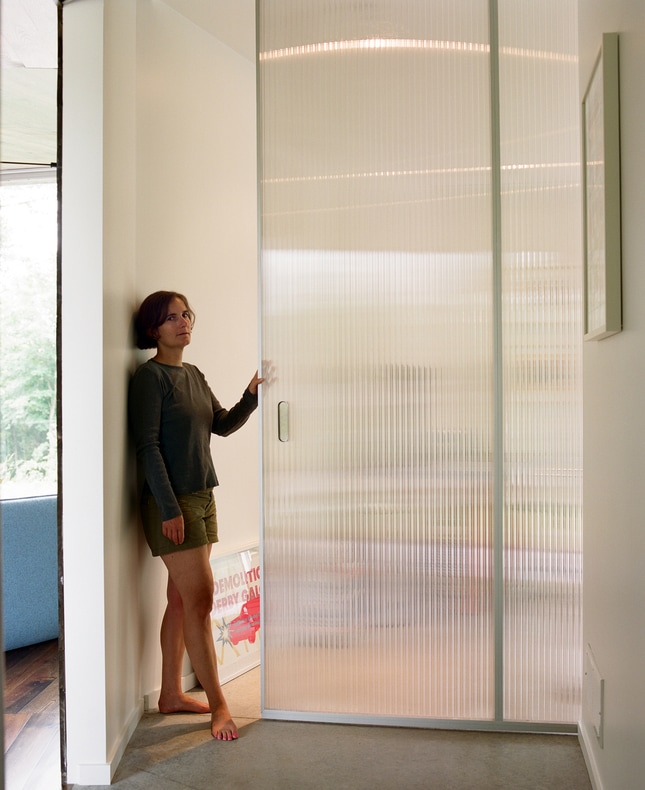
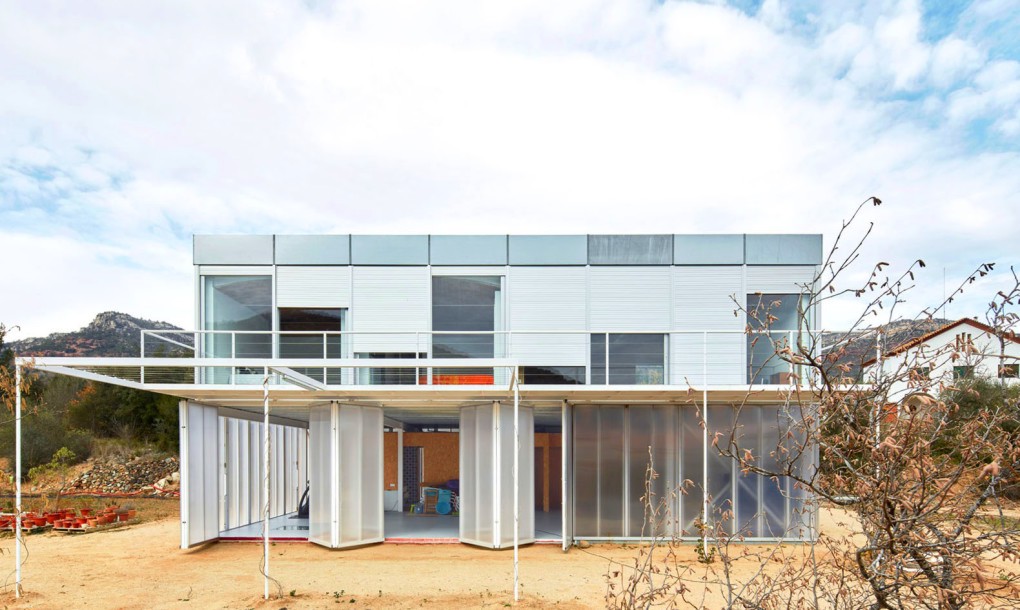
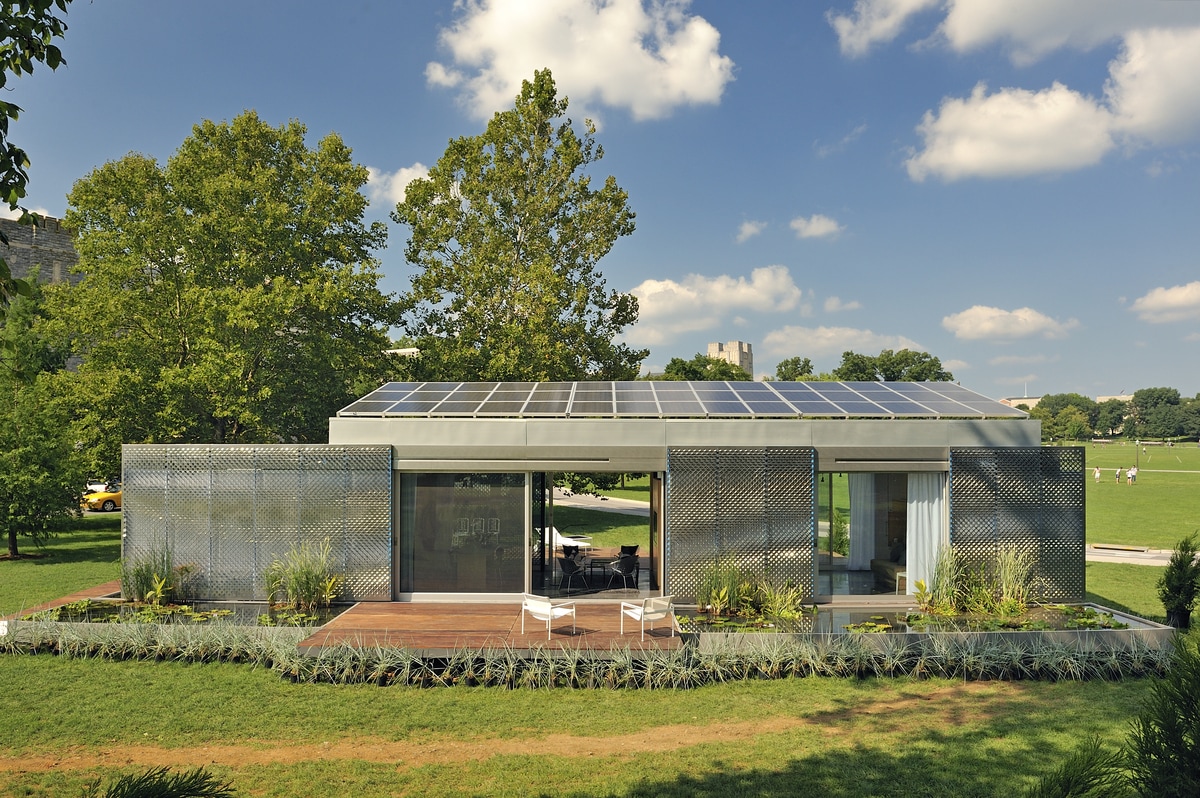
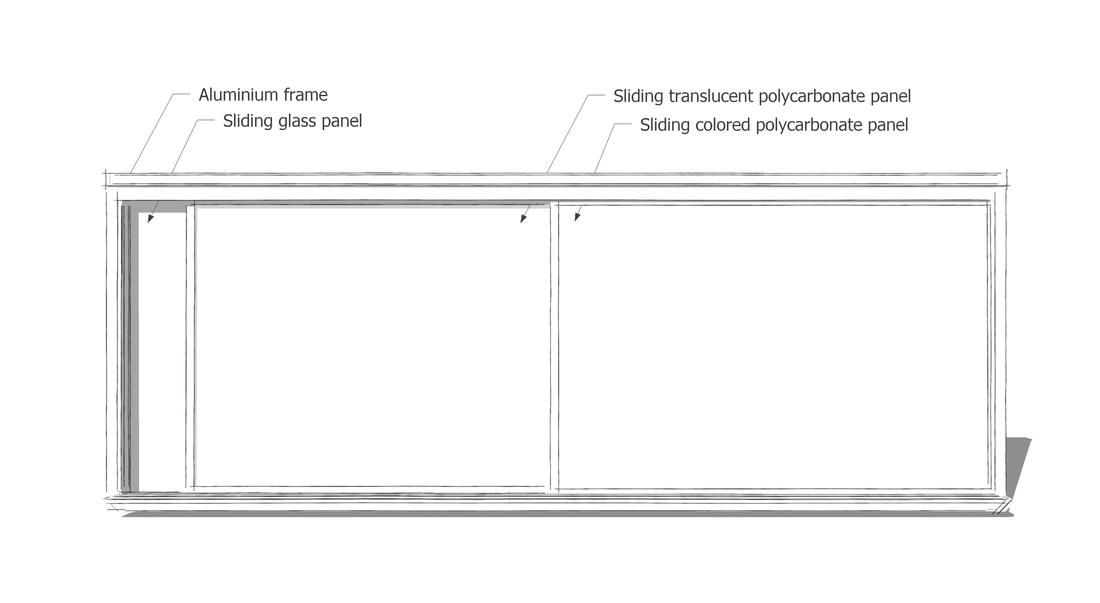
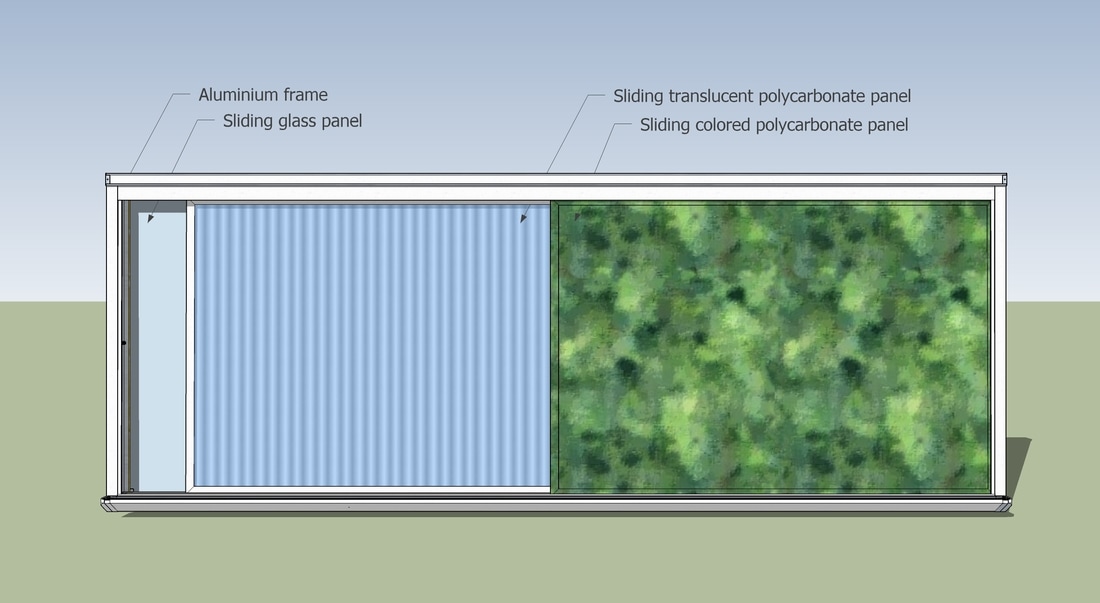
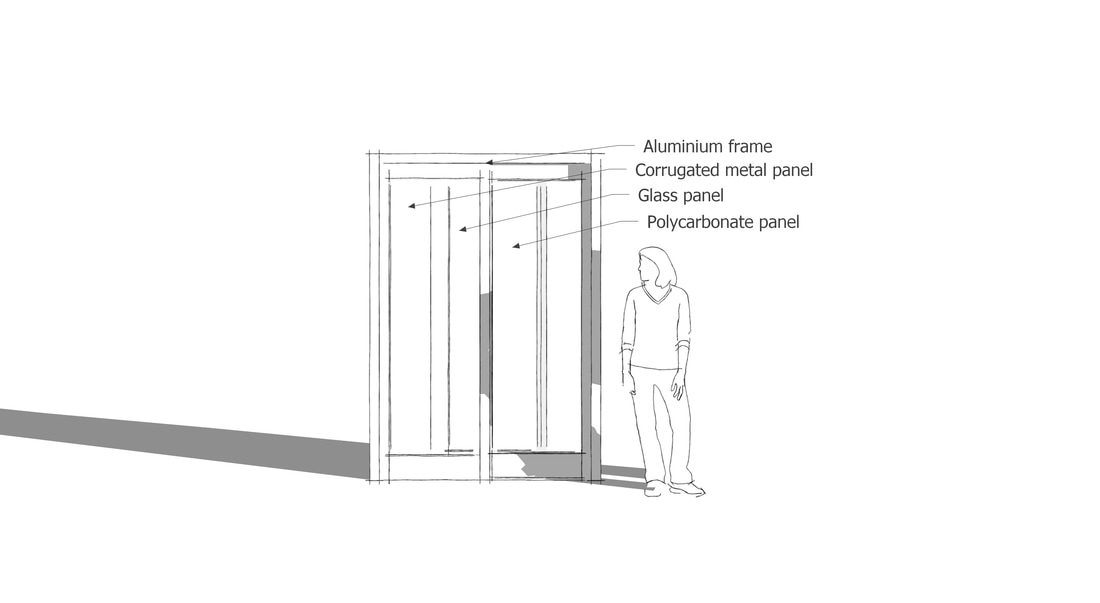
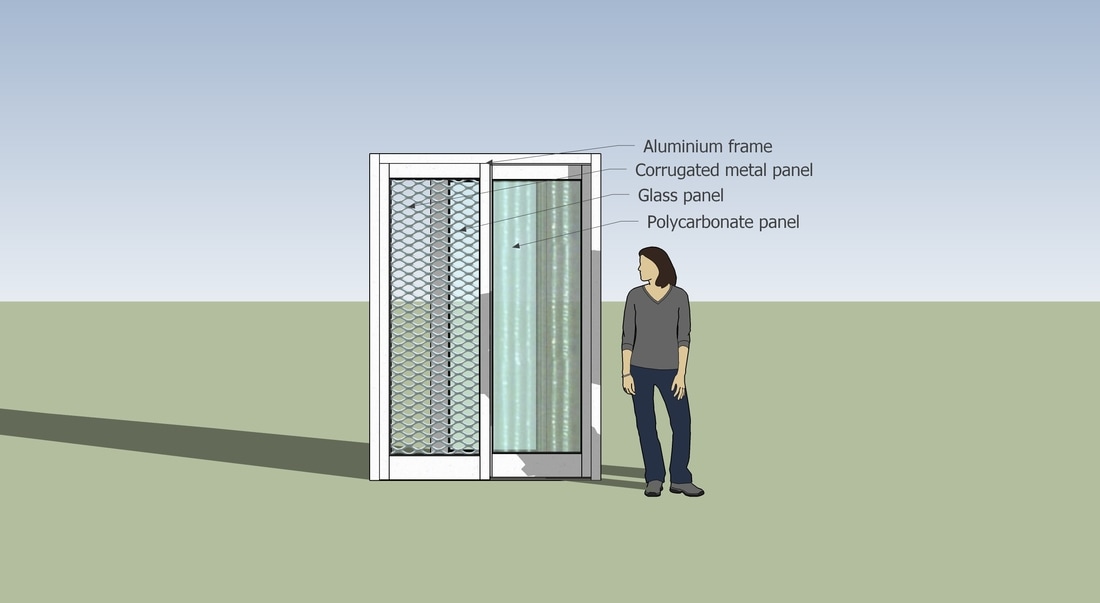
I decided to focus on a detail of translucent sliding screens made of polycarbonate panels and an aluminium frame because they define further decisions about the exterior structure, indoor lighting and shell insulation that are beyond the scope of this course.
I decided to focus on a detail of translucent sliding screens made of polycarbonate panels and an aluminium frame because they define further decisions about the exterior structure, indoor lighting and shell insulation that are beyond the scope of this course.

Shower curtain displaying the typical California landscape
|
|
Step 2. Take a moment to ponder.
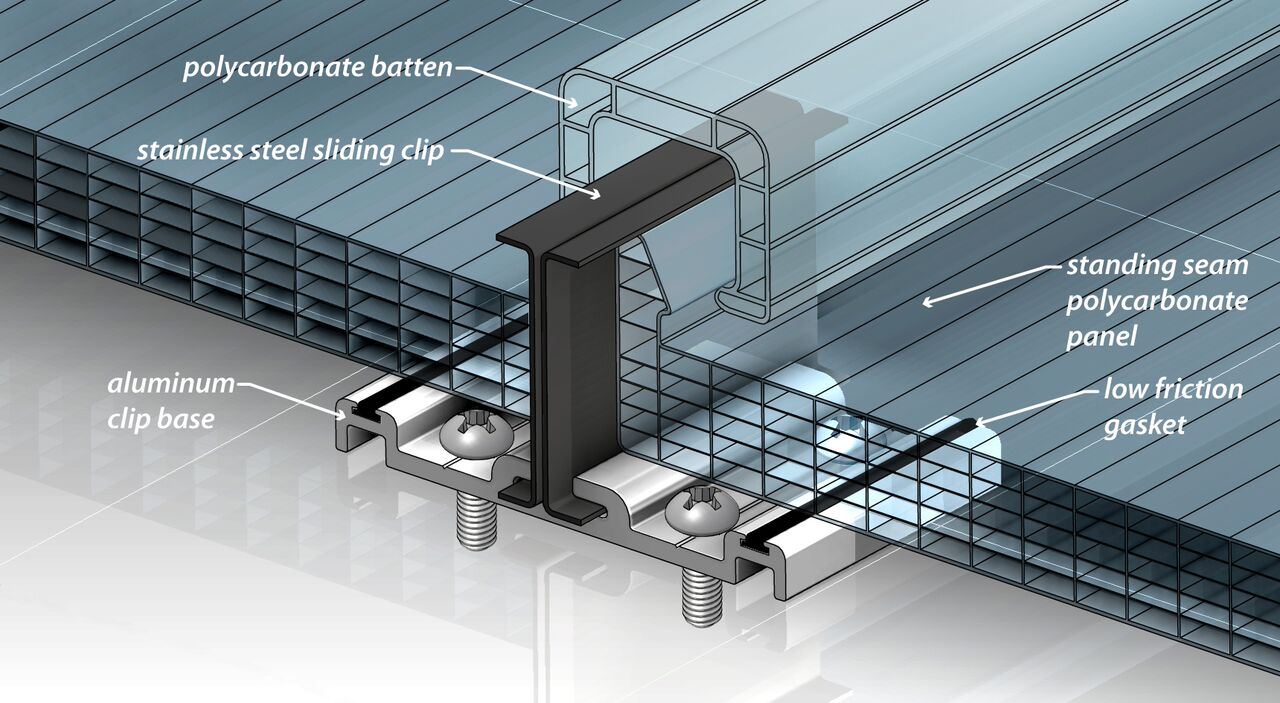
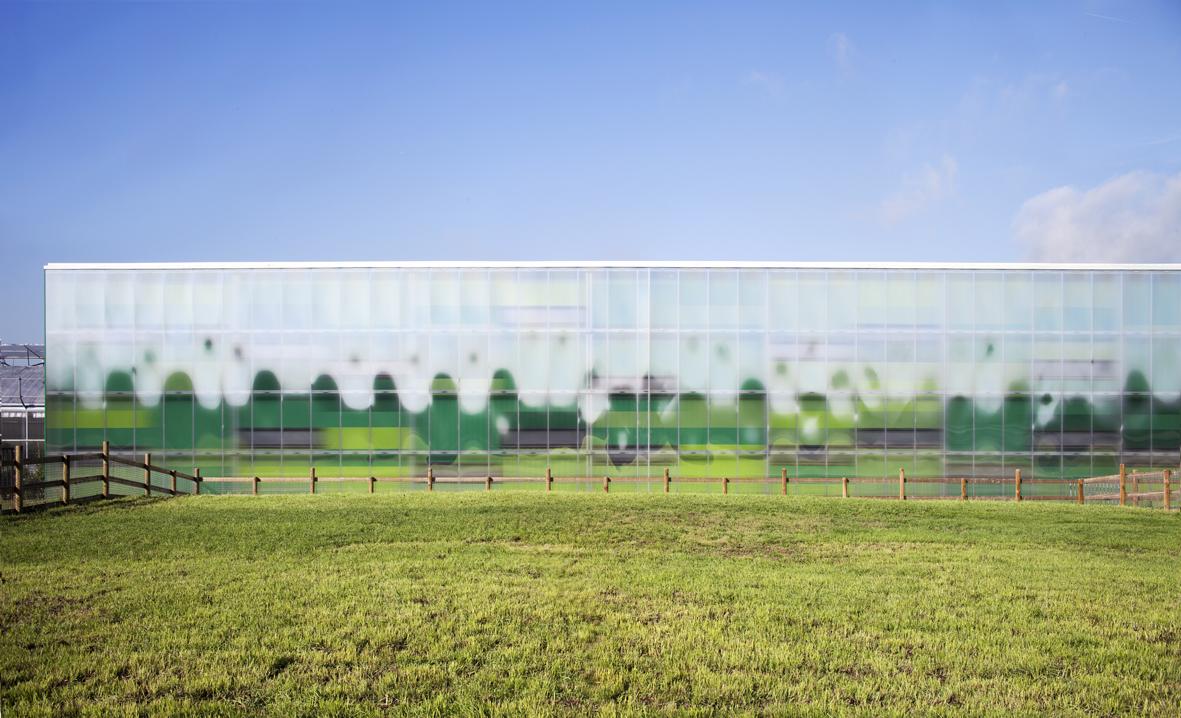
Durable, energy-efficient and cost-effective, polycarbonate panels have become increasingly popular in architecture due to their high-performance properties and contemporary look. Plus, used in the structure of internal and external walls – and even in roofs and skylights – polycarbonate panels enhance the amount of daylight allowed into interior spaces, which is great for psychological and physiological well being. More advantages and also a few disadvantages and the range of uses in architecture are described here.
|

|
Step 3. Research ergonomics.
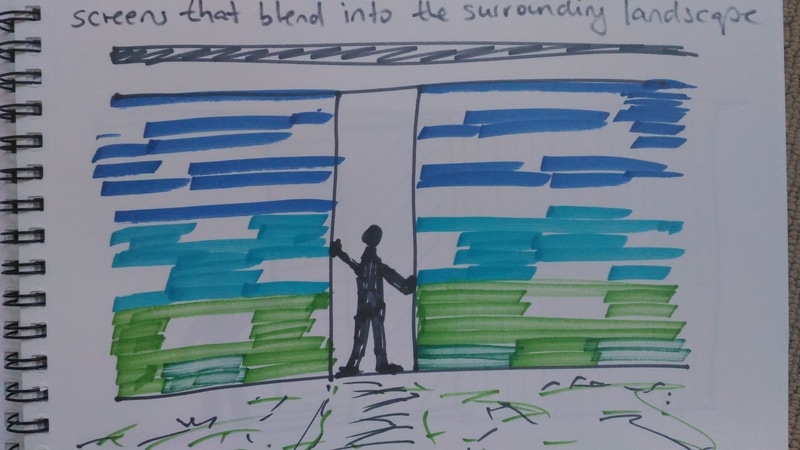
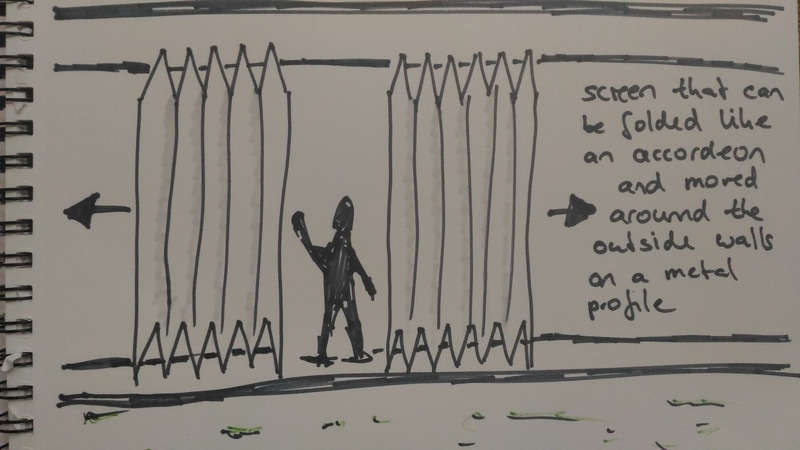
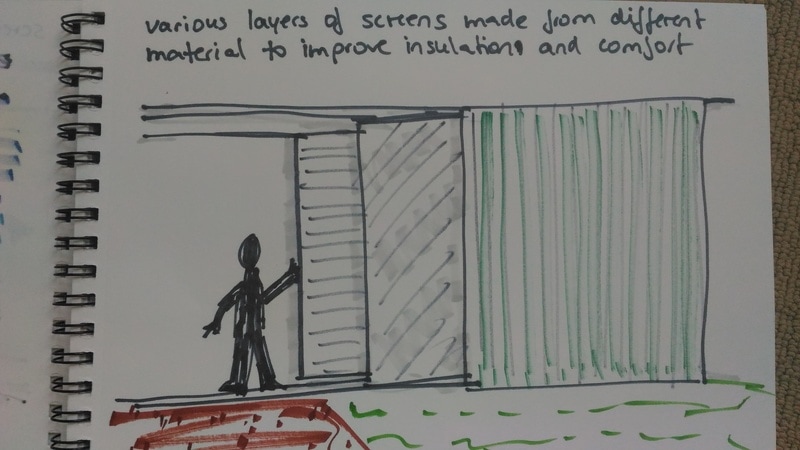
I did some research about the human sizes and functional dimensions related to the sliding door element, and I looked at similar projects. I believe the element works best at a height of around 3.5m. However, there are multiple options how to apply such a screening element. Here are a few sketches of the transition area between the surrounding and the house, i.e. the entrance but also e.g. the terrace.
|
|
|
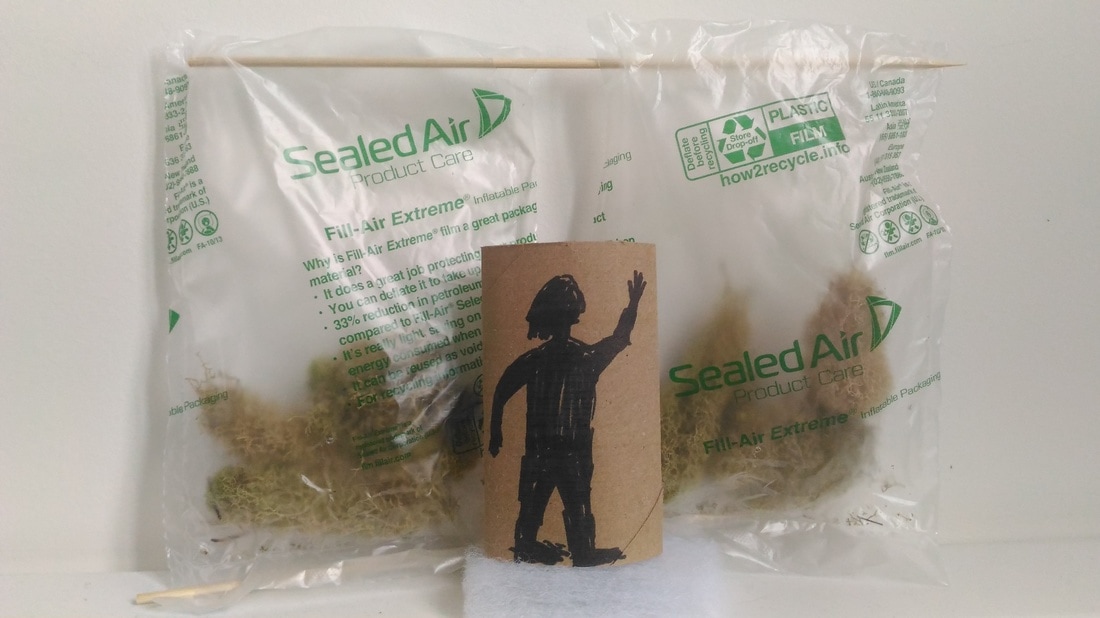
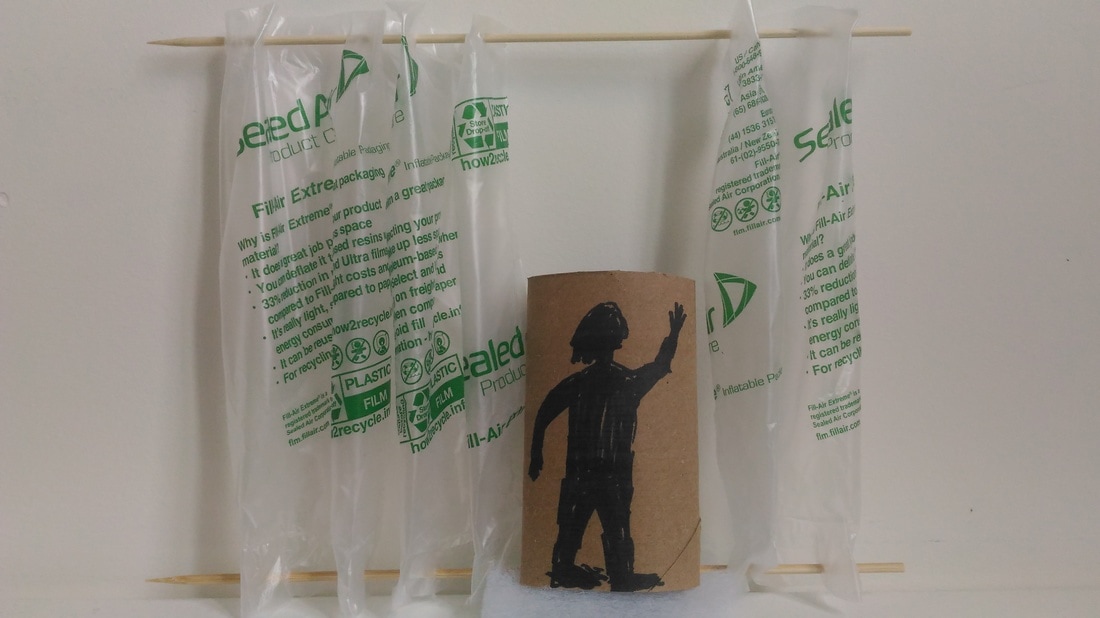
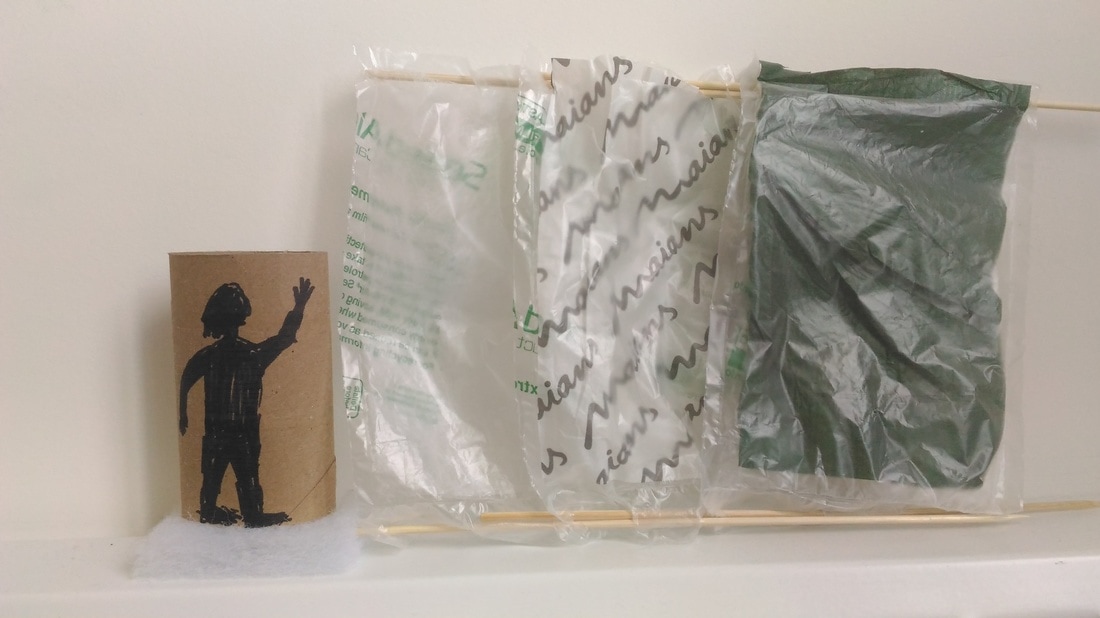
Step 4. Collect materials and sketch the details for your design.
Use simple materials like sticks, paper and involve a precisely drawn scale figure in your sketches. Take notes, for example by taking pictures of some of the options.
|
|
|
Step 5. Make one small but precise detail of your design.
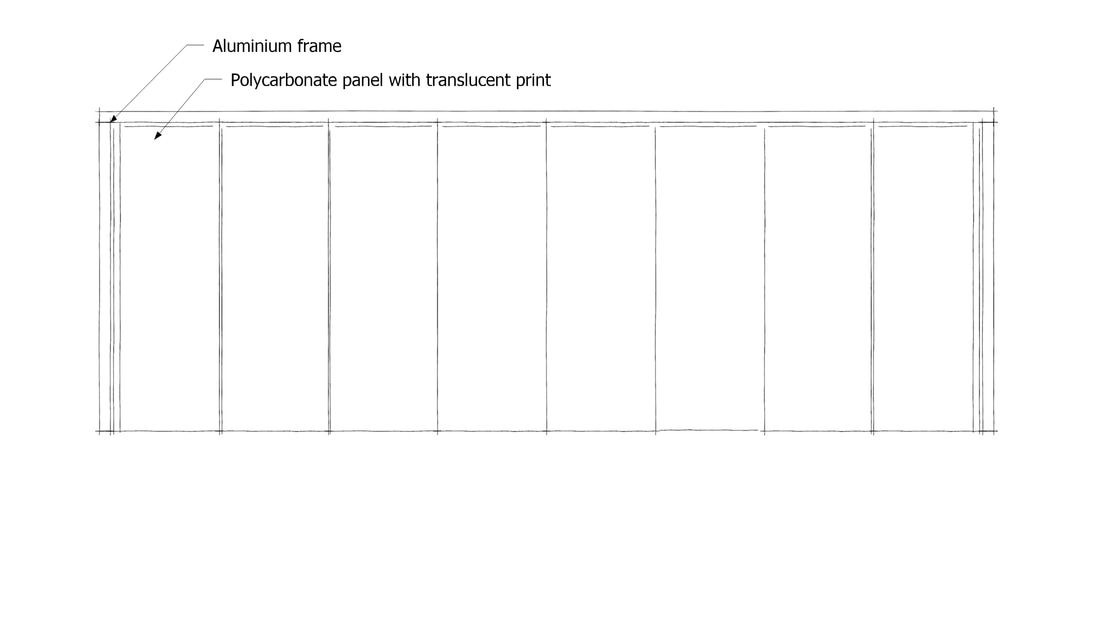
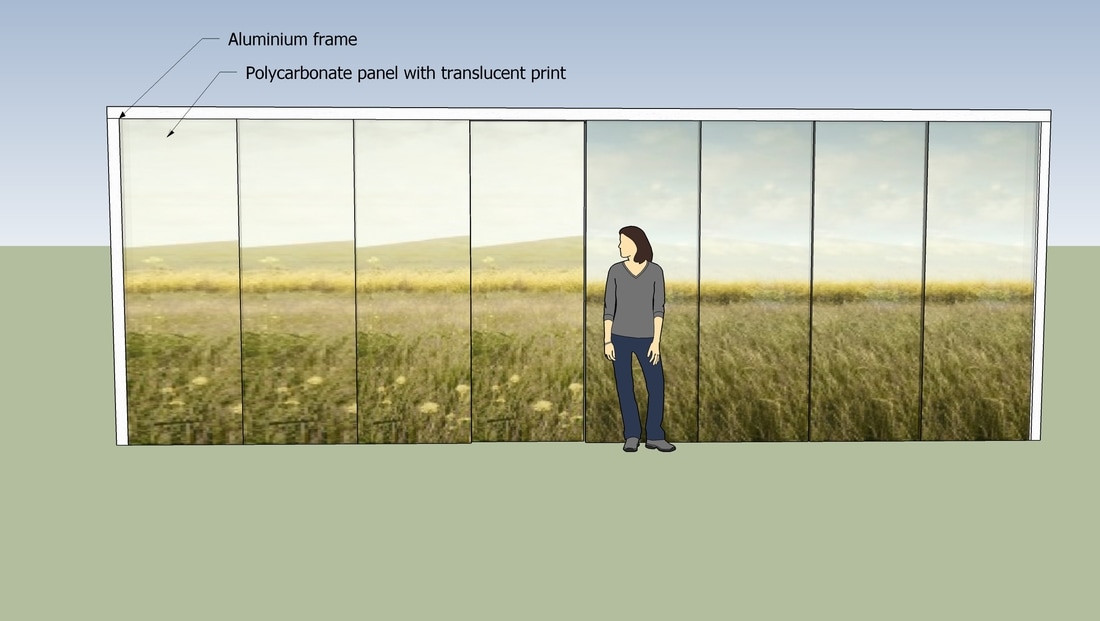
Since I am not an architect and not technically skilled in designing architectural elements, I searched for different glass door models in the Sketchup 3D Warehouse and adjusted them to my ideas in terms of materials and functionality:
|
|
|
